

Monday, September 10, 2012
Spring Wedding Palette I

Sunday, September 9, 2012
Lily Pads
A fun craft for kids and easy decor for a party table. These lily pads are made from craft paper and gift tissue paper.

Materials:
Tissue paper (whatever color you'd like)
Green craft paper or construction paper
Stapler
Scissors


Materials:
Tissue paper (whatever color you'd like)
Green craft paper or construction paper
Stapler
Scissors

Stack 6 sheets of of tissue paper one on top of the other and cut a 5x5 inch square. Also cut a 5x5 inch square of the green craft paper. You may stack them all together to save time if desired.

Stack the craft and tissue papers together and cut a flower shape. I cut this freehand. You may draw it before cutting if you're iffy about your freehand cutting skills.

This is optional, but I shifted each layer of tissue paper and in order to stagger the petals. It gives it a more 'natural' look. Afterward, staple together at the center (the green craft sheet is on the bottom of the stack).

Finally, pinch the the petals sheets together (I started with 2 layers and added a sheet with each pinch) and let them naturally spread apart. Do not pinch the last sheet (the green craft paper).

Maneuver the petals to the desired look et voila: A pretty lily pad!

Friday, September 7, 2012
Pom Pom Party Favor Bags
This is an easy and inexpensive way to bag party favors.


First, I'll show you how to make a pom pom. You can do a lot with pom poms and they can be made in all different sizes.
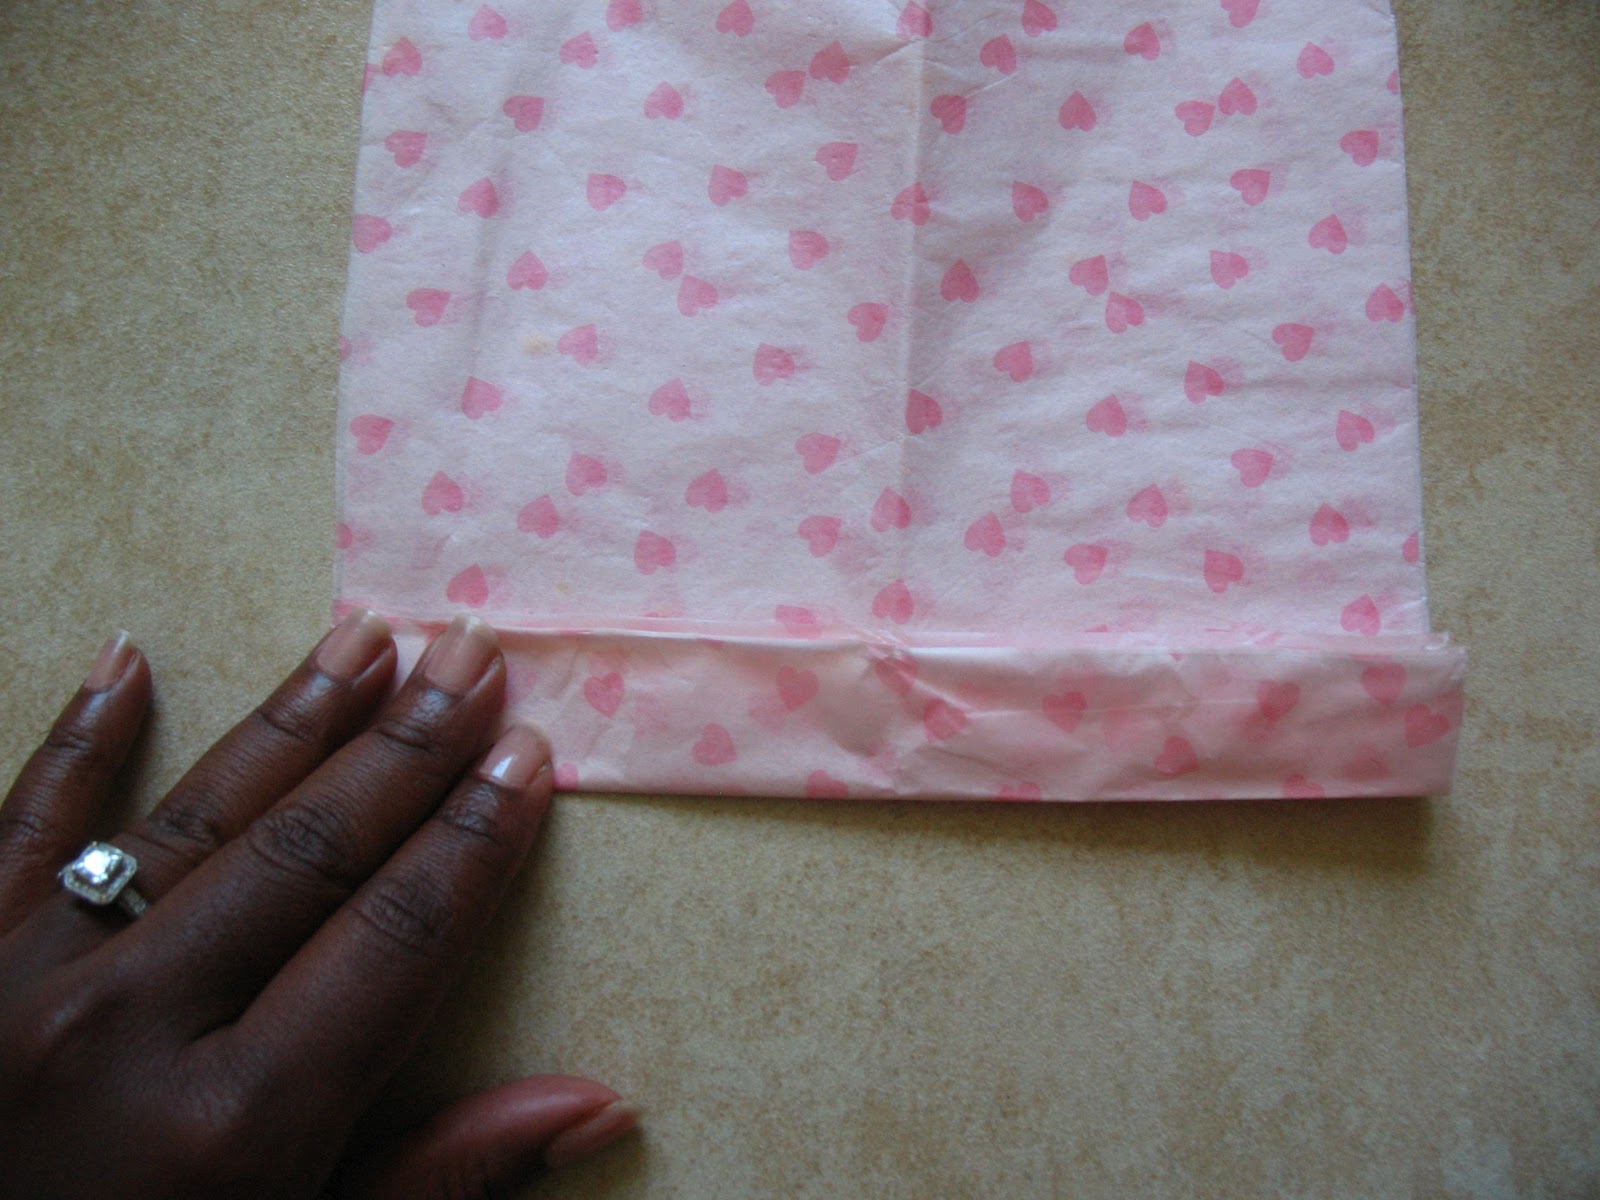
Layer 5 to 6 pieces of tissue paper one on top of the other (I used 6) and cut a 7"x10" rectangle (you are free to make it smaller or larger). Fold the tissue paper back and forth on itself, as if you were making a paper fan.


Materials:
Scissors
White paper bags
Stapler
Double-sided Tape
Tissue Paper

First, I'll show you how to make a pom pom. You can do a lot with pom poms and they can be made in all different sizes.
Layer 5 to 6 pieces of tissue paper one on top of the other (I used 6) and cut a 7"x10" rectangle (you are free to make it smaller or larger). Fold the tissue paper back and forth on itself, as if you were making a paper fan.
Below is what it will look like after you've done the folds.

Next, pinch the center of the tissue paper and staple it. If needed, you may fold the tissue paper in half to determine the center.

 |
| Staple at the center |
Cut, the two ends of the tissue paper into a petal shape. You can do different shapes if you'd like, I wanted to make them look more like flowers.

Finally, separate (open) the sheets of tissue paper on both sides.


You can see the final result below. I made several of these pom poms...

Onto making the favor bags: place your favors inside the white paper bags and fold the top of the paper on itself two or three times and tape closed with the double-sided tape. Attach the pom pom onto the tape. I used two pieces of tape to make sure the pom pom stays in place at the center of the paper bag.

Thursday, September 6, 2012
My Weekend in St. John, USVI
I was lucky enough to be invited to a destination wedding. St. John is one of the most beautiful landscapes I've discovered on this side of the world. It was by far the best Labor Day weekend I've ever had, celebrating a close friend's wedding. Everything about it was beautiful and it didn't rain a single day. I took some photos of the beautiful island that is St. John and some of it's wonderful inhabitants...

This was on the Ferry ride from St. Thomas to St. John.




This was on the Ferry ride from St. Thomas to St. John.


There is much to see in St. John, especially the hens and free roaming roosters. The wake up call early in the morning are a warm welcome. I love the happy reminder of being away from the city...


One of the most beautiful parts of being on a tropical island: the sunsets...

Wednesday, August 15, 2012
Painted Candle Holder
This project was brought on by a need to add some accents to my bookshelf. It was also easy to do. It doesn't require much time or money and the end result was worth it.

Materials:
Acrylic paint ( any 2 colors of your choice)
glass candle holders ( I bought mine at the Dollar Tree for $1 each)
Makeup sponges (the triangular shape)
Paper plate to dab the acrylic paint
and a workspace that you don't mind making a mistake on.
I chose yellow gold and white acrylic paint as my 2 colors. Feel free to use more than 2 colors, I'm pretty sure I'm going to give that a try.
Pour a small amount of the gold paint and a small amount of white paint on opposite sides of the paper plate.
Dab one of the two short edges of the triangular makeup sponge on the gold paint and dab off the excess on the plate.

Hold the glass jar in one hand to make it easier to work with. I held it on its side and begin dabbing the painted edge of the sponge at an angle near the base of the glass jar. You may hold it the easiest way it will work for you. I don't have a starting photo, but you will see the work in progress.


You're going to dab the paint with your writing/strong hand. Dab the paint in the same angle all the way around the jar, leaving some space between each dab. You will have to reapply more paint onto your sponge as you go around.
Next, use the opposite edge of the sponge and dab the white paint onto the glass and follow the same method as you did with the gold. If you're afraid of mixing the paints you may use different sponge for the white paint. Either stagger the pattern or dab the paint right above where your first row of gold. I did one pattern for the first jar and another pattern for the second (by mistake).

As you progress, you will go upward on with each color row on the glass until you've reached the top edge of the candle holder. If you should make any errors as you go, simply wipe it off with a moist paper towel and continue. I tried to make sure I finished with the same color I started with (gold).
This will be your end result:

As you can see, the pattern doesn't have to be perfect. Your imperfection is perfection. That's what I love about handmade; no two are ever alike. Enjoy.

Materials:
Acrylic paint ( any 2 colors of your choice)
glass candle holders ( I bought mine at the Dollar Tree for $1 each)
Makeup sponges (the triangular shape)
Paper plate to dab the acrylic paint
and a workspace that you don't mind making a mistake on.
I chose yellow gold and white acrylic paint as my 2 colors. Feel free to use more than 2 colors, I'm pretty sure I'm going to give that a try.
 |
| Acrylic paint, makeup sponge, and glass candle holder |
Dab one of the two short edges of the triangular makeup sponge on the gold paint and dab off the excess on the plate.

Hold the glass jar in one hand to make it easier to work with. I held it on its side and begin dabbing the painted edge of the sponge at an angle near the base of the glass jar. You may hold it the easiest way it will work for you. I don't have a starting photo, but you will see the work in progress.


You're going to dab the paint with your writing/strong hand. Dab the paint in the same angle all the way around the jar, leaving some space between each dab. You will have to reapply more paint onto your sponge as you go around.
Next, use the opposite edge of the sponge and dab the white paint onto the glass and follow the same method as you did with the gold. If you're afraid of mixing the paints you may use different sponge for the white paint. Either stagger the pattern or dab the paint right above where your first row of gold. I did one pattern for the first jar and another pattern for the second (by mistake).

As you progress, you will go upward on with each color row on the glass until you've reached the top edge of the candle holder. If you should make any errors as you go, simply wipe it off with a moist paper towel and continue. I tried to make sure I finished with the same color I started with (gold).
This will be your end result:

Subscribe to:
Posts (Atom)